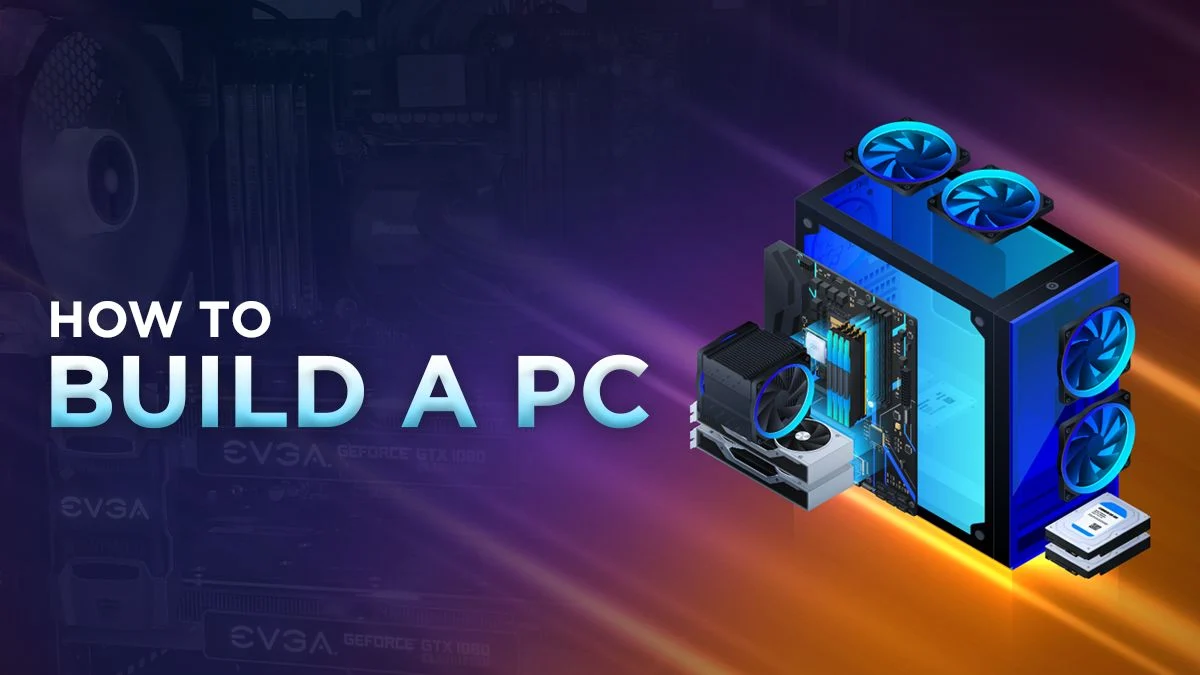
Building your own gaming PC can be a rewarding and cost-effective way to get a high-performance gaming setup tailored to your specific needs. In this guide, we will take you through the step-by-step process of building your own gaming PC, from selecting the components to assembling and setting up your system.

1. Set a Budget and Define Your Needs:
Before you start building your gaming PC, determine your budget and understand your gaming needs. Consider the types of games you play, the desired graphics settings, and any specific requirements you may have, such as VR capabilities or streaming capabilities. This will help you make informed decisions when selecting components.
2. Choose the Right Components:
Selecting the right components is crucial for building a powerful gaming PC. Here are the key components you’ll need:
a. Processor (CPU): Choose a CPU that meets your gaming and multitasking requirements.
b. Graphics Card (GPU): The GPU is essential for gaming performance. Select a GPU that can handle the games you play at your desired settings.
c. Motherboard: Ensure compatibility with your CPU and GPU, and choose a motherboard that has the necessary features for expansion.
d. Memory (RAM): Opt for sufficient RAM capacity and a high clock speed for smooth gaming performance.
e. Storage: Decide between a solid-state drive (SSD) for faster load times or a hard disk drive (HDD) for larger storage capacity.
f. Power Supply Unit (PSU): Select a PSU that can provide enough power for your components.
g. Case: Choose a case that can accommodate your components and offers good airflow for cooling.
h. Cooling: Consider the need for additional cooling solutions, such as CPU coolers or case fans.
3. Gather the Necessary Tools:
Before you begin assembling your gaming PC, ensure you have the necessary tools on hand. These may include a screwdriver set, thermal paste, cable ties, and an anti-static wristband to prevent damage from static electricity.
4. Assemble Your Gaming PC:
Follow these general steps for assembling your gaming PC:
a. Install the CPU and CPU cooler onto the motherboard.
b. Install the RAM into the appropriate slots on the motherboard.
c. Install the storage devices (SSD or HDD) and connect them to the motherboard.
d. Install the GPU into the appropriate PCIe slot on the motherboard.
e. Connect all necessary cables, including power cables, data cables, and front panel connectors.
f. Install the PSU into the case and connect it to the motherboard and other components.
g. Mount the motherboard into the case and secure it in place.
h. Install any additional case fans or cooling solutions.
i. Close the case and connect peripherals, such as the monitor, keyboard, and mouse.
5. Install the Operating System and Drivers:
After assembling your gaming PC, you’ll need to install an operating system, such as Windows, and the necessary drivers for your components. Follow the instructions provided by the OS and driver installation process to complete the setup.
6. Configure and Optimize Your Gaming PC:
Once the operating system is installed, configure and optimize your gaming PC for optimal performance. This may include adjusting graphics settings, installing game launchers, and updating drivers and software regularly.
7. Test and Enjoy:
Before diving into your gaming sessions, run stress tests and benchmarking tools to ensure that your PC is functioning properly. This will help identify any potential issues and allow you to make necessary adjustments. Once everything is running smoothly, you can enjoy your newly built gaming PC.

Conclusion:
Building your own gaming PC can be a fulfilling experience that allows you to create a custom gaming setup tailored to your preferences. By carefully selecting the
right components, following proper assembly steps, and optimizing your system, you can have a powerful gaming PC that delivers an immersive and enjoyable gaming experience. Remember to research and consult online resources for specific details and compatibility considerations as you embark on your journey to build your own gaming PC.