
Introduction
Building a custom gaming PC can be an exciting and rewarding experience for gamers seeking ultimate performance and customization. However, the process may seem daunting to those unfamiliar with PC components and assembly. In this comprehensive guide, we’ll walk you through the key components you’ll need for your dream gaming rig and the step-by-step process of assembling your custom PC.
1. Research and Planning
Start by determining your budget, gaming requirements, and desired performance level. Research different PC components, compare specifications, and read reviews to make informed decisions.
2. CPU (Central Processing Unit)
Choose a powerful CPU that matches your gaming needs. Opt for a processor from reputable brands like Intel or AMD, with higher clock speeds and core counts for improved gaming performance.
3. GPU (Graphics Processing Unit)
The GPU is critical for gaming visuals. Select a high-performance graphics card from NVIDIA or AMD that aligns with your gaming resolution and graphics settings.
4. RAM (Random Access Memory)
Ensure your system has sufficient RAM to handle multitasking and gaming. Aim for at least 16GB, but 32GB or more is recommended for smooth gaming performance.
5. Motherboard
Select a motherboard compatible with your chosen CPU and GPU. Check for features like PCIe slots, USB ports, and sufficient RAM slots.
6. Storage
Choose between fast SSDs for quick loading times or larger HDDs for ample storage. Many gamers opt for a combination of both.
7. Power Supply
Select a reliable power supply unit (PSU) with enough wattage to support your components. Ensure it has the necessary connectors for your GPU and other devices.
8. PC Case
Pick a PC case that accommodates your chosen components and provides sufficient airflow for cooling. Look for a case with cable management options for a clean build.
9. Cooling System
Decide on an air or liquid cooling solution to keep your components at optimal temperatures during intense gaming sessions.
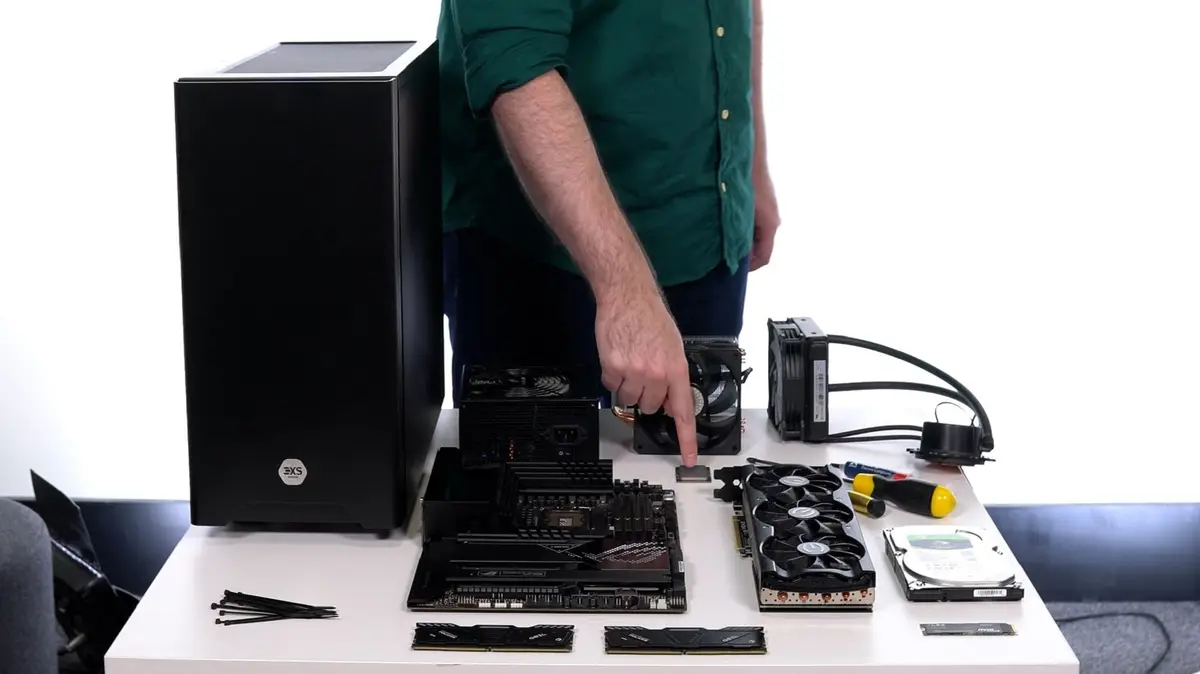
10. Assembly
Follow these steps to assemble your custom gaming PC:
-
Install the CPU into the motherboard and apply thermal paste.
-
Attach the CPU cooler according to the manufacturer’s instructions.
-
Install RAM into the appropriate slots on the motherboard.
-
Install the motherboard into the PC case.
-
Connect the power supply to the motherboard and other components.
-
Insert the GPU into the PCIe slot and secure it with screws.
-
Install storage drives (SSD and/or HDD) into their respective slots.
-
Connect all necessary cables, such as power and data cables.
-
Check all connections and ensure everything is securely in place.
Conclusion