
3D printing has revolutionized the way we create and manufacture objects. Whether you’re a hobbyist, designer, or engineer, understanding the basics of 3D printing and the design software used in the process is essential. In this guide, we will explore the fundamentals of 3D printing and introduce some popular design software to help you get started.
1. Understanding 3D Printing:
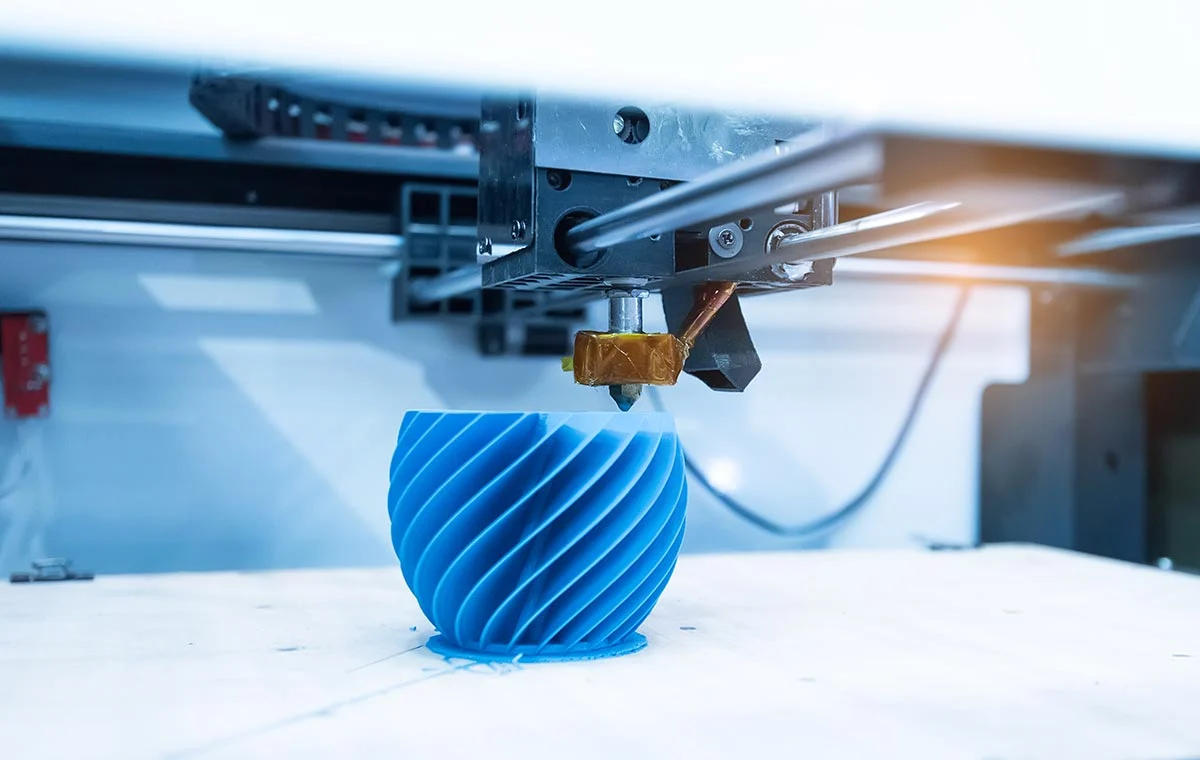
a. How it works: 3D printing, also known as additive manufacturing, involves creating three-dimensional objects by layering materials based on a digital model.
b. Types of 3D printers: There are various types of 3D printers available, including Fused Deposition Modeling (FDM), Stereolithography (SLA), and Selective Laser Sintering (SLS), each with its own advantages and limitations.
c. Materials used: 3D printers can work with a range of materials, including plastics, metals, ceramics, and even food or biological materials, depending on the printer type.
2. Designing for 3D Printing:
a. Choosing a design software: There are several design software options specifically tailored for 3D printing. Some popular ones include:
– Tinkercad: A user-friendly web-based design tool suitable for beginners.
– Fusion 360: A powerful and versatile software with advanced features for more complex designs.
– SketchUp: A popular choice for architectural and product design.
– SolidWorks: A professional-grade software widely used in engineering and industrial design.
3. Creating 3D Models:
a. Starting with basic shapes: Begin by learning how to create basic shapes such as cubes, spheres, and cylinders in your chosen design software.
b. Importing existing designs: Many design software programs allow you to import existing 3D models or download pre-made designs from online repositories.
c. Designing from scratch: As you gain more experience, you can start creating more complex models by combining and modifying basic shapes, adding details, and incorporating intricate features.
4. Optimizing Designs for 3D Printing:
a. Wall thickness: Ensure that the walls of your design have adequate thickness to prevent structural issues during printing.
b. Overhangs and supports: Consider adding support structures for overhanging features or angles greater than 45 degrees to ensure successful printing.
c. Printing orientation: Experiment with different orientations to minimize the need for supports and achieve the best print quality.
5. Exporting and Preparing Files for Printing:
a. File formats: Save your designs in compatible file formats such as STL (Standard Tessellation Language) or OBJ (Wavefront Object) for 3D printing.
b. Slicing software: Slicing software converts your 3D model into printable layers by slicing it horizontally. Popular slicing software includes Ultimaker Cura, PrusaSlicer, and Simplify3D.
c. Adjusting print settings: Configure print settings such as layer height, infill density, print speed, and support structures based on your desired print quality and object requirements.
6. Printing and Post-Processing:
a. Choosing a 3D printer: Select a 3D printer that suits your needs and budget. Consider factors such as build volume, resolution, and material compatibility.
b. Printing process: Follow the manufacturer’s instructions for loading filament, setting up the print bed, and initiating the printing process.
c. Post-processing: Once the print is complete, remove any support structures, clean up the print if necessary, and consider additional post-processing techniques such as sanding, painting, or applying finishes to enhance the appearance.
Conclusion:
3D printing offers exciting possibilities for creating custom objects, prototypes, and artistic creations. By understanding
the basics of 3D printing, choosing the right design software, and following best practices for designing and preparing your models, you can unlock the full potential of this technology. Experiment, learn from each print, and continue exploring the vast world of 3D printing to expand your skills and bring your imagination to life.