
Creating a DIY photography studio at home allows you to explore your passion for photography and capture professional-looking images without the need for a dedicated studio space. With a few essential tools and some creativity, you can transform any room into a versatile studio. In this guide, we will walk you through the steps to set up your own DIY photography studio at home.
1. Selecting the Right Space:
a. Find a suitable room in your home that offers enough space to accommodate your photography equipment and subjects.
b. Consider factors such as natural light availability, access to power outlets, and the ability to control light sources.
2. Lighting Setup:
a. Natural Light: Take advantage of natural light by positioning your studio near windows or in a room with ample daylight. Use curtains or diffusers to soften and control the intensity of sunlight.
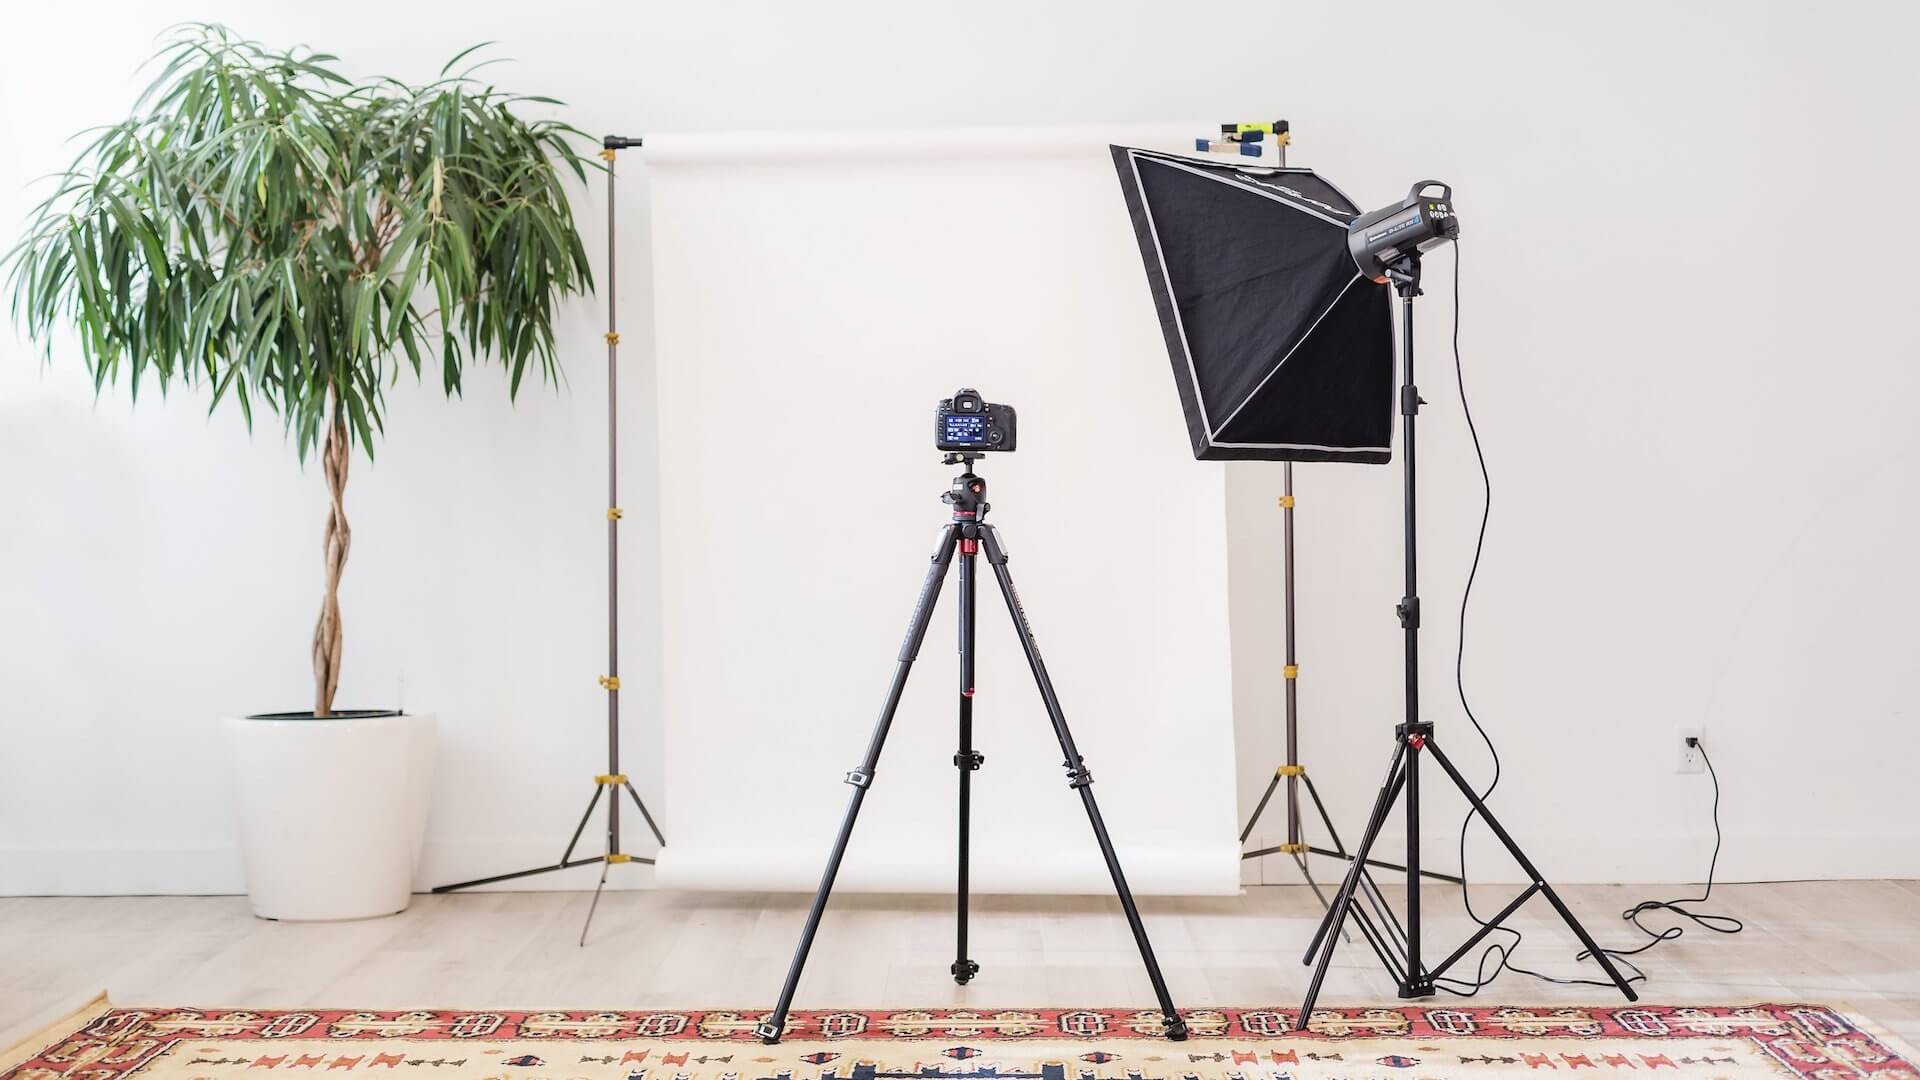
b. Artificial Lighting: Invest in adjustable studio lighting equipment such as softboxes, umbrella lights, or LED panels to provide consistent and controllable light sources. Position them to achieve the desired lighting effects and avoid harsh shadows.
3. Backdrops and Props:
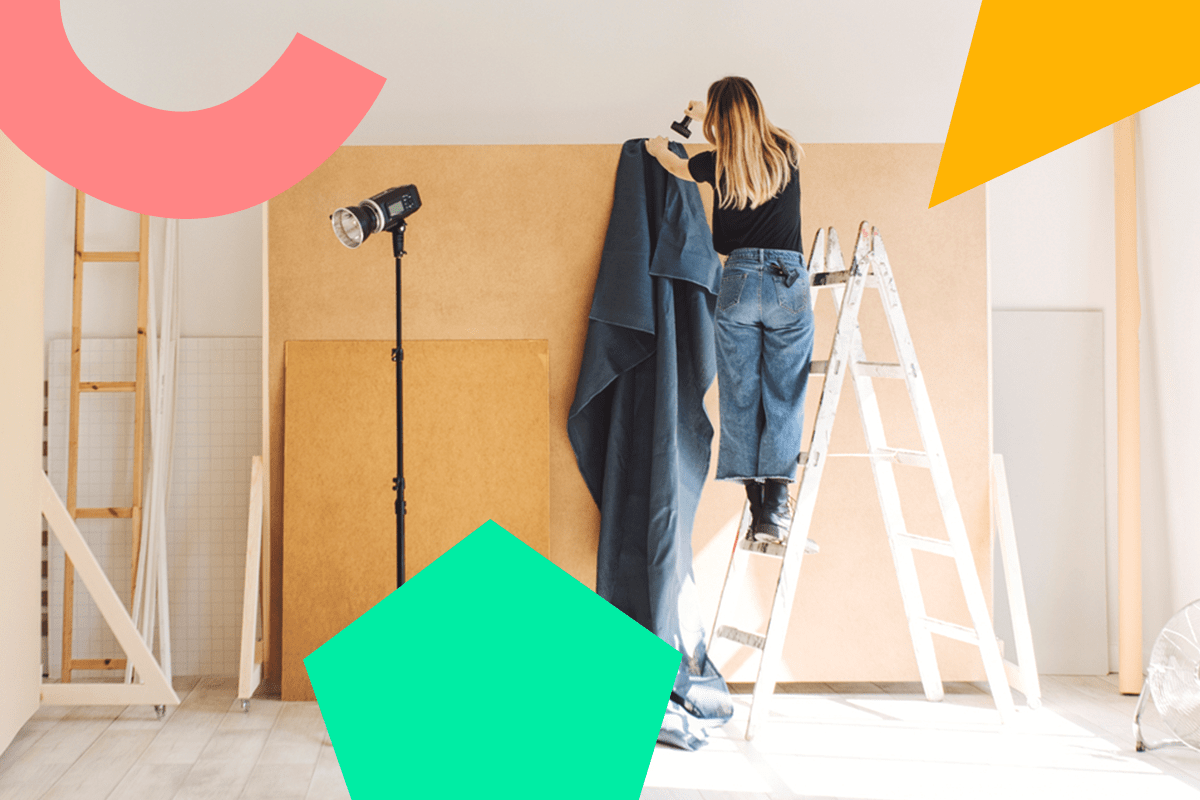
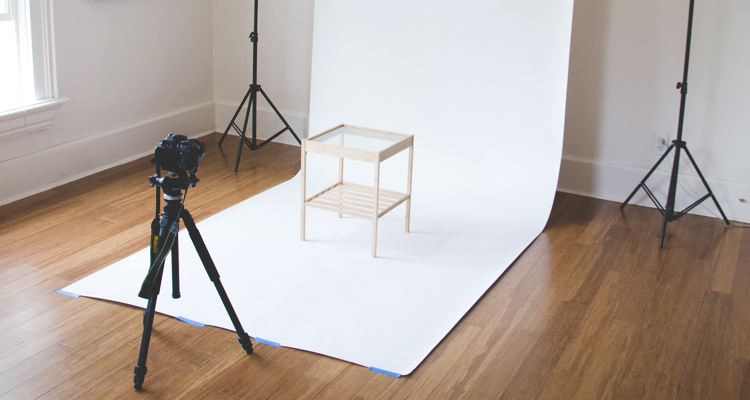
a. Backgrounds: Use various backdrop options, such as seamless paper rolls, fabric, or vinyl backdrops, to create a clean and professional look. Consider different colors, patterns, or textured backgrounds based on your photography style.
b. Props and Accessories: Add interest and depth to your photos by incorporating relevant props and accessories that complement your subjects or enhance the overall composition.
4. Camera and Equipment:
a. Camera: Use a DSLR or mirrorless camera with manual control settings to have full control over your photography. Experiment with different lenses based on your desired focal length and the type of subjects you intend to photograph.
b. Tripod: Invest in a sturdy tripod to keep your camera steady and capture sharp images, especially in low-light situations or when using slower shutter speeds.
c. Remote Shutter Release: Utilize a remote shutter release or wireless trigger to minimize camera shake when taking self-portraits or capturing images from a distance.
5. Studio Setup and Organization:
a. Arrange your equipment and props in an organized manner for easy access and quick setup.
b. Utilize storage solutions such as shelves, bins, or rolling carts to keep your equipment, backdrops, and props neatly organized and easily accessible.
6. Post-Processing and Editing:
a. Use photo editing software such as Adobe Photoshop or Lightroom to fine-tune your images, adjust exposure, color balance, and enhance details if desired.
b. Experiment with different editing styles to achieve your desired aesthetic and maintain consistency throughout your portfolio.
7. Practice and Experimentation:
a. Set aside time to practice and experiment with different lighting setups, compositions, and subjects to improve your photography skills and develop your unique style.
b. Explore online resources, tutorials, and photography communities for inspiration, tips, and feedback.
Conclusion:
With a DIY photography studio at home, you have the flexibility and convenience to capture professional-looking images in a controlled environment. By selecting the right space, investing in lighting equipment, backdrops, and props, and organizing your equipment effectively, you can create a versatile and professional setup. Remember to practice, experiment, and continuously refine your skills to unleash your creativity and capture stunning photographs in the comfort of your own home.