
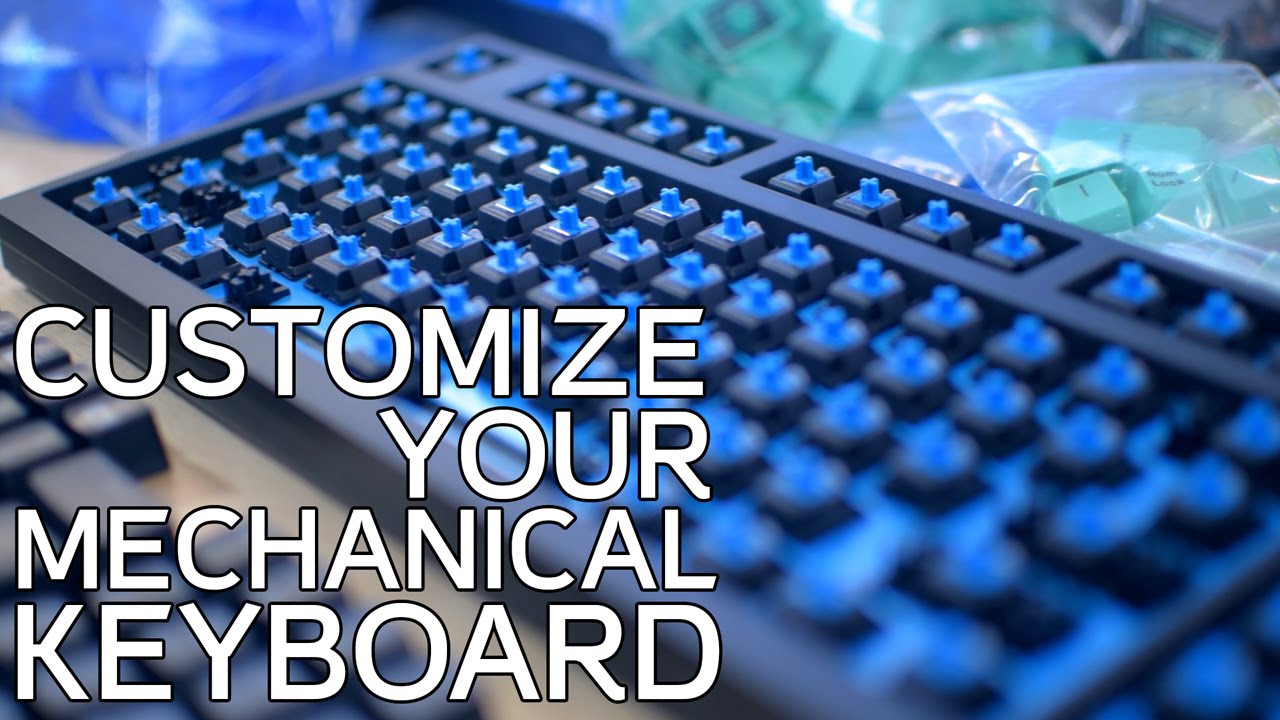
Mechanical keyboards have gained popularity among enthusiasts for their tactile feedback and durability. One way to personalize your mechanical keyboard is by replacing the keycaps. Whether you want to enhance the aesthetics or improve the typing experience, this guide will walk you through the process of replacing the keycaps on your mechanical keyboard.
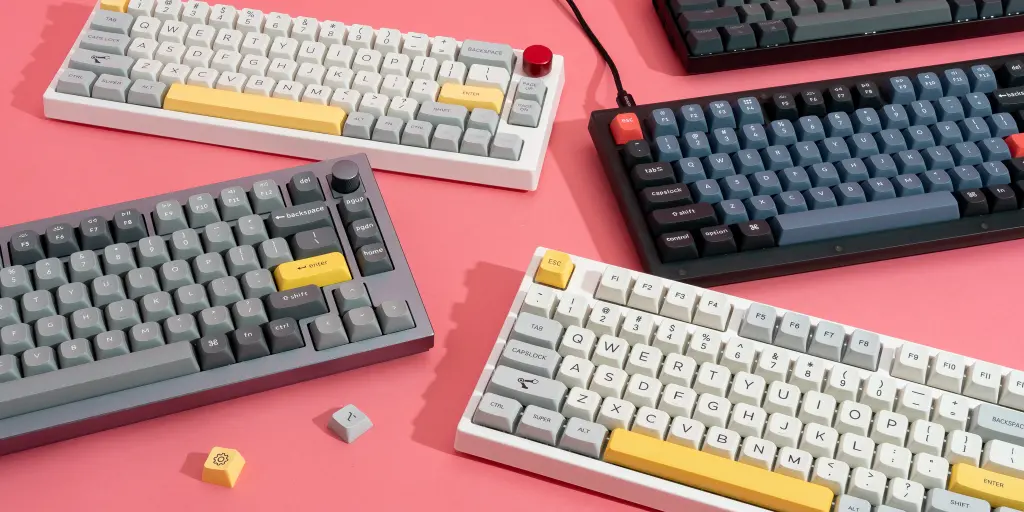
1. Choose the Right Keycap Set:
a. Material: Keycaps come in various materials, including ABS (acrylonitrile butadiene styrene) and PBT (polybutylene terephthalate). PBT is known for its durability and resistance to wear and shine.
b. Profile: Different keycap profiles, such as OEM, Cherry, or SA, offer unique shapes and heights. Choose a profile that suits your typing style and comfort.
c. Design and Color: Consider keycap designs and color schemes that match your preferences and aesthetic taste.
2. Gather the Necessary Tools:
a. Keycap Puller: A keycap puller is essential for removing the existing keycaps without damaging the switches. It can be a wire-style or a plastic-style puller.
b. Cleaning Supplies: Prepare a clean microfiber cloth or cotton swabs and a mild cleaning solution to clean the keyboard and switches.
3. Remove the Existing Keycaps:
a. Turn off your computer or disconnect the keyboard from the device.
b. Use the keycap puller to gently and evenly pull the keycaps straight up from the switches. Start from one corner and work your way across the keyboard.
c. Place the removed keycaps in a safe place to avoid losing or misplacing them.
4. Clean the Keyboard:
a. Use the microfiber cloth or cotton swabs lightly dampened with a cleaning solution to wipe down the exposed switches and the keyboard surface. Be gentle to avoid damaging the switches.
b. Pay special attention to any debris or grime that may have accumulated around the switches or keycap stems.
5. Install the New Keycaps:
a. Start with the bottom row and larger keycaps, such as the spacebar and modifiers. Align the keycap stems with the switch stems and gently press them down until they click into place.
b. Continue installing the remaining keycaps, ensuring they are aligned properly and fully seated on the switches.
c. If your keycap set includes additional keycaps for different layouts, such as a 65% or 75% keyboard, refer to the layout diagram provided to install them correctly.
6. Test and Adjust:
a. Once all the keycaps are installed, test each key to ensure they register correctly and have a consistent feel. Check for any wobbling or sticking keycaps.
b. If you notice any issues, gently remove and reseat the affected keycaps until they sit securely on the switches.
7. Maintenance and Care:
a. Regularly clean your keyboard to maintain its appearance and performance.
b. Avoid using abrasive cleaning solutions or materials that may damage the keycaps or switches.
c. Consider using a keyboard cover or dust cover to protect the keycaps from dust and debris when not in use.
Conclusion:
Replacing the keycaps on your mechanical keyboard allows you to personalize its appearance and improve the typing experience. By choosing the right keycap set, using the proper tools, and following the steps outlined in this guide, you can easily customize your keyboard to reflect your style and preferences. Enjoy the tactile feedback and visual appeal of your newly customized mechanical keyboard.