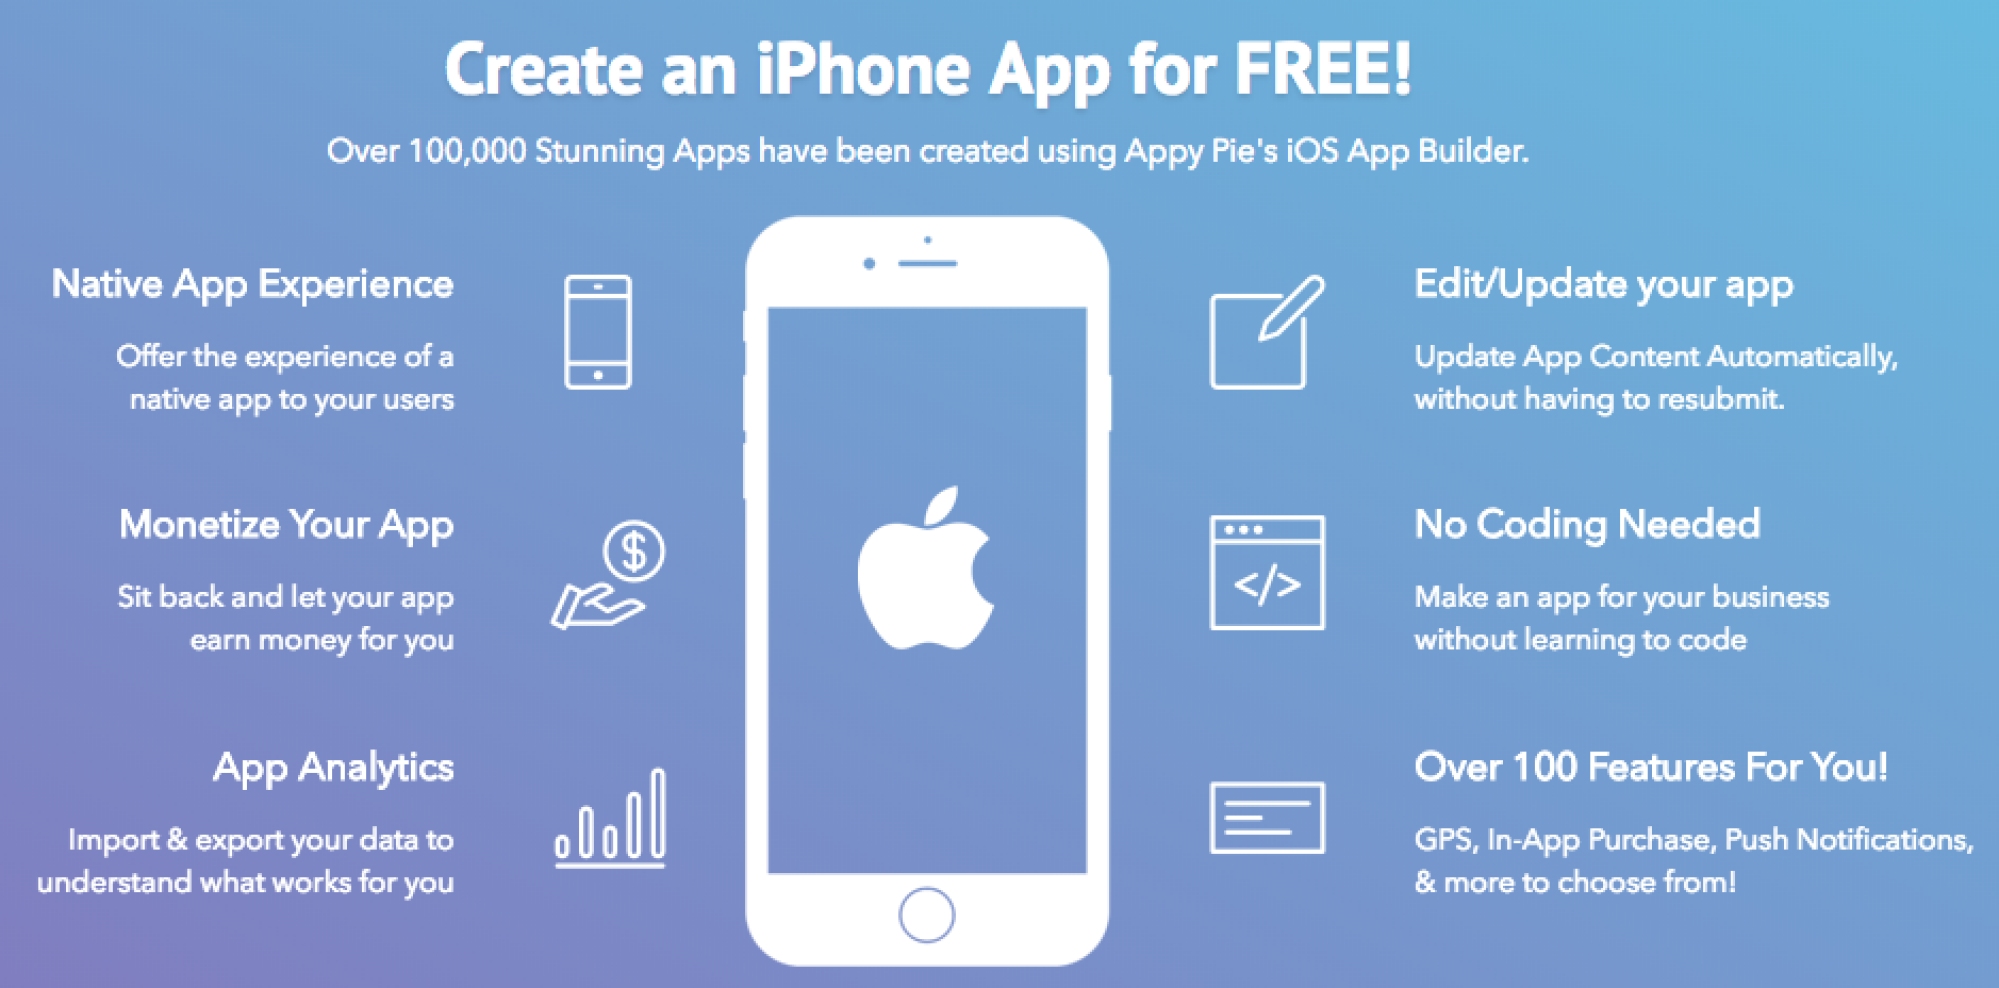
In today’s digital age, mobile apps have become an integral part of our daily lives. If you have ever wanted to bring your app idea to life, this guide will provide you with a step-by-step process for DIY app development, even if you have no prior coding experience. Let’s dive in!

1. Define Your App Idea:
a. Identify the Purpose: Determine the problem your app will solve or the need it will fulfill. Define the core features and functionalities your app will offer.
b. Conduct Market Research: Research existing apps in the same category to understand their strengths, weaknesses, and opportunities. Identify how your app can differentiate itself and offer unique value to users.
2. Choose Your App Development Approach:
a. No-Code/Low-Code Platforms: Consider using no-code or low-code platforms that allow you to build apps visually with drag-and-drop components and pre-built templates. Examples include Bubble, Adalo, and Thunkable.
b. Learn to Code: If you’re willing to learn coding, choose a programming language and framework suitable for mobile app development. Popular options include Swift (for iOS apps), Java or Kotlin (for Android apps), or React Native (for cross-platform development).
3. Plan Your App’s User Interface (UI) and User Experience (UX):
a. Wireframing: Use wireframing tools like Figma or Adobe XD to create a visual representation of your app’s screens and navigation flow. This will help you plan the layout and interaction elements of your app.
b. Design Guidelines: Follow platform-specific design guidelines (such as Apple’s Human Interface Guidelines or Google’s Material Design) to ensure a consistent and user-friendly experience.
4. Build and Test Your App:
a. No-Code/Low-Code Platforms: Utilize the visual development environment to add components, define data structures, and set up app logic. Test your app in real-time using preview modes.
b. Learning to Code: Follow tutorials and documentation for your chosen programming language or framework to build the app’s functionality. Use Integrated Development Environments (IDEs) like Xcode or Android Studio for coding and testing.
5. Integrate Backend and APIs:
a. User Authentication: Implement user authentication features using services like Firebase Authentication or third-party solutions.
b. Backend Development: Set up a backend server to handle data storage, retrieval, and any necessary business logic. Explore options like Firebase, AWS, or custom server solutions.
c. API Integration: Connect your app to external APIs (such as location services, payment gateways, or social media platforms) to expand functionality and enhance user experience.
6. Testing and Deployment:
a. Test Your App: Perform comprehensive testing to identify and fix any bugs or usability issues. Conduct both functional and user experience testing to ensure a smooth app experience.
b. App Store Submission: Prepare the necessary assets (app icons, screenshots, descriptions) and follow the guidelines provided by Apple App Store or Google Play Store for app submission. TestFlight (iOS) and Google Play Console (Android) allow you to distribute beta versions for testing before the official release.
7. Maintain and Update Your App:
a. User Feedback: Encourage user feedback to gather insights and identify areas for improvement. Regularly update your app to fix bugs, add new features, and address user suggestions.
b. App Analytics: Monitor app performance using analytics tools (such as Google Analytics or Firebase Analytics) to understand user behavior, engagement, and retention. This data can help guide your app’s future development.
Conclusion:
With the right approach and tools, DIY app development is within reach, even for beginners. By following the steps outlined in this guide, you can bring your app idea to life and create a mobile app that meets the needs of your target audience. Remember to iterate, seek feedback, and continuously improve your app based on user insights. Embrace the journey of app development, and enjoy the satisfaction of seeing your creation come to life on users’ devices. Good luck!