
If you’re a fan of classic arcade games and want to bring that nostalgic gaming experience into your own home, building a DIY retro arcade cabinet is a fantastic project to undertake. In this guide, we’ll walk you through the steps of creating your very own arcade cabinet, allowing you to relive the golden age of gaming with your favorite retro titles. Let’s get started!
1. Planning and Design:
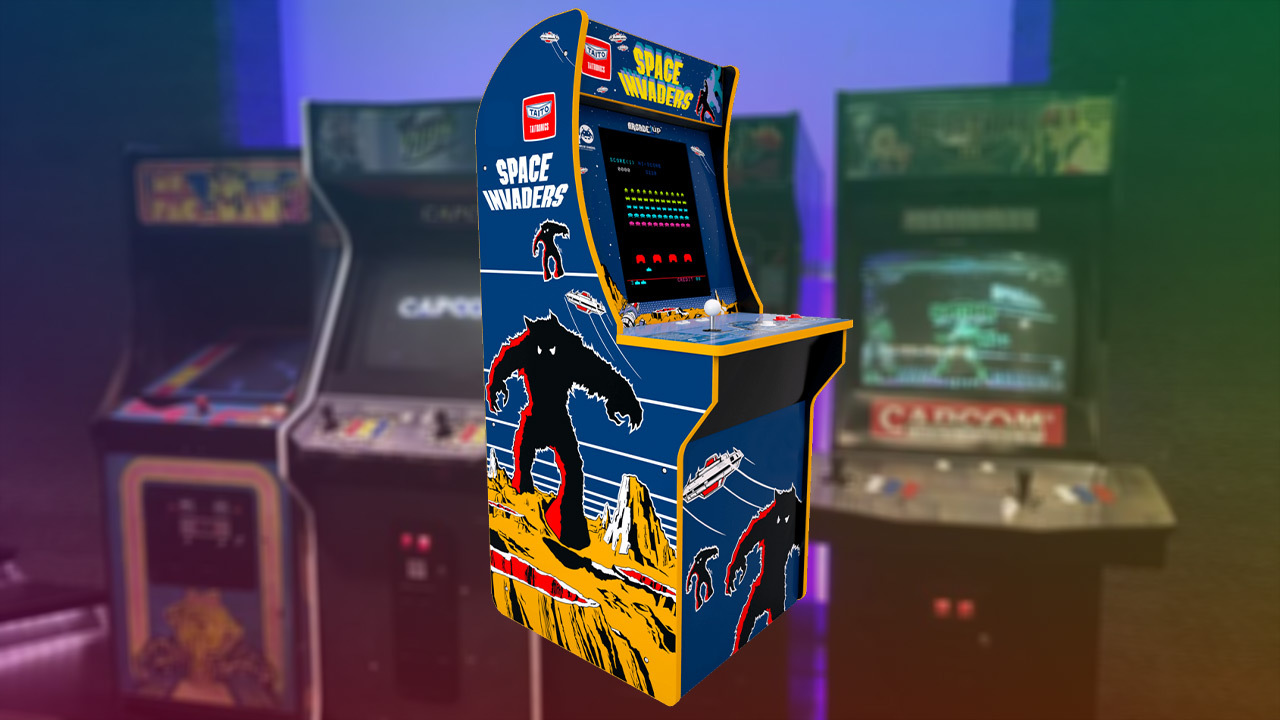
a. Choose a Cabinet Style: Research and select a cabinet style that suits your preferences and available space. Popular options include stand-up cabinets, bartop cabinets, and cocktail table cabinets.
b. Gather Arcade Game Emulation Software: Research and choose an arcade game emulation software that will run your favorite retro games. Popular options include RetroPie, Recalbox, and Lakka.
c. Select a Monitor: Decide on the size and type of monitor you want for your arcade cabinet. Consider factors such as resolution, aspect ratio, and display technology (LCD or CRT) to achieve an authentic arcade experience.
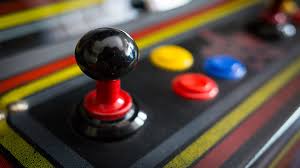
d. Control Panel Layout: Plan the layout and placement of the control panel, including buttons, joysticks, and other input devices. Consider the ergonomics and functionality of the controls for various game genres.
2. Building the Cabinet:
a. Materials: Select sturdy and durable materials such as medium-density fiberboard (MDF) or plywood for constructing the cabinet. Use appropriate tools and safety equipment for cutting, drilling, and assembly.
b. Cabinet Dimensions: Follow the dimensions and measurements provided by the chosen cabinet design or customize them to suit your needs and available space.
c. Assembly: Cut the panels according to your design and assemble the cabinet using screws, nails, or adhesives. Ensure proper reinforcement and stability throughout the construction process.
3. Installing Electronics and Components:
a. Mounting the Monitor: Securely mount the monitor inside the cabinet, ensuring it is positioned at the appropriate viewing angle and height.
b. Wiring and Connectors: Connect the monitor, control panel, buttons, and joysticks to the appropriate interfaces or controller boards. Follow the wiring diagrams provided by the chosen emulation software or controller board manufacturer.
c. Audio System: Install speakers or audio components to provide sound for an immersive gaming experience. Consider adding an amplifier or soundboard for enhanced audio quality.
d. Power Supply: Choose a suitable power supply unit that can provide enough power for all the electronic components. Follow proper electrical wiring practices and ensure safety precautions are in place.
4. Control Panel and Button Layout:
a. Control Panel Design: Create or download a control panel layout template that matches your chosen cabinet design. Customize the button and joystick placement to accommodate your preferred gaming style.
b. Button and Joystick Installation: Drill holes in the control panel for buttons and joystick mounting. Install the buttons, joysticks, and other input devices according to the layout template.
5. Arcade Game Emulation Setup:
a. Install Emulation Software: Set up the chosen arcade game emulation software on a Raspberry Pi or a dedicated computer. Follow the installation instructions provided by the software’s documentation or community.
b. ROMs and Game Images: Source and install game ROMs or images for the retro games you want to play. Ensure that you have legal permission to use these game files.
c. Configuration: Configure the emulation software to recognize your control inputs, adjust display settings, and customize game-specific settings.
6. Finishing Touches and Personalization:
a. Cabinet Artwork: Apply artwork or decals to the exterior of the cabinet to give it an authentic arcade look. Consider using classic arcade game themes or create your own unique design.
b. Marquee and Bezels: Install a marquee, which is a backlit sign at the top of the cabinet, displaying the name or artwork of your arcade cabinet. Optionally, add bezels around the monitor to create a more authentic arcade feel.
c. Lighting Effects: Incorporate LED lighting effects inside the cabinet or around the control panel to enhance the visual appeal of your arcade cabinet.
d. Comfort and Accessibility: Consider adding features like a comfortable stool or adjustable height settings to ensure optimal gameplay comfort for players of different heights.
Conclusion:
Building a DIY retro arcade cabinet allows you to recreate the excitement and nostalgia of classic arcade gaming in your own home. By following the steps in this guide, you can design and construct a customized arcade cabinet that suits your style and preferences. From planning and building to installing electronics and personalizing the cabinet, this project offers endless opportunities for creativity and fun. Once completed, your DIY retro arcade cabinet will become a centerpiece of entertainment, providing hours of gaming enjoyment for you, your family, and friends. Get ready to immerse yourself in the retro gaming experience and create lifelong memories with your very own DIY arcade cabinet!