
Building your own custom gaming PC is an exciting and rewarding experience that allows you to tailor the components to meet your gaming needs and budget. While it may seem intimidating at first, this step-by-step guide will walk you through the process, from selecting the components to assembling and setting up your gaming rig.
1. Define Your Budget and Gaming Requirements:
a. Determine your budget: Decide how much you’re willing to spend on your gaming PC, including components and peripherals.
b. Assess your gaming needs: Consider the types of games you play, their system requirements, and the desired performance level.
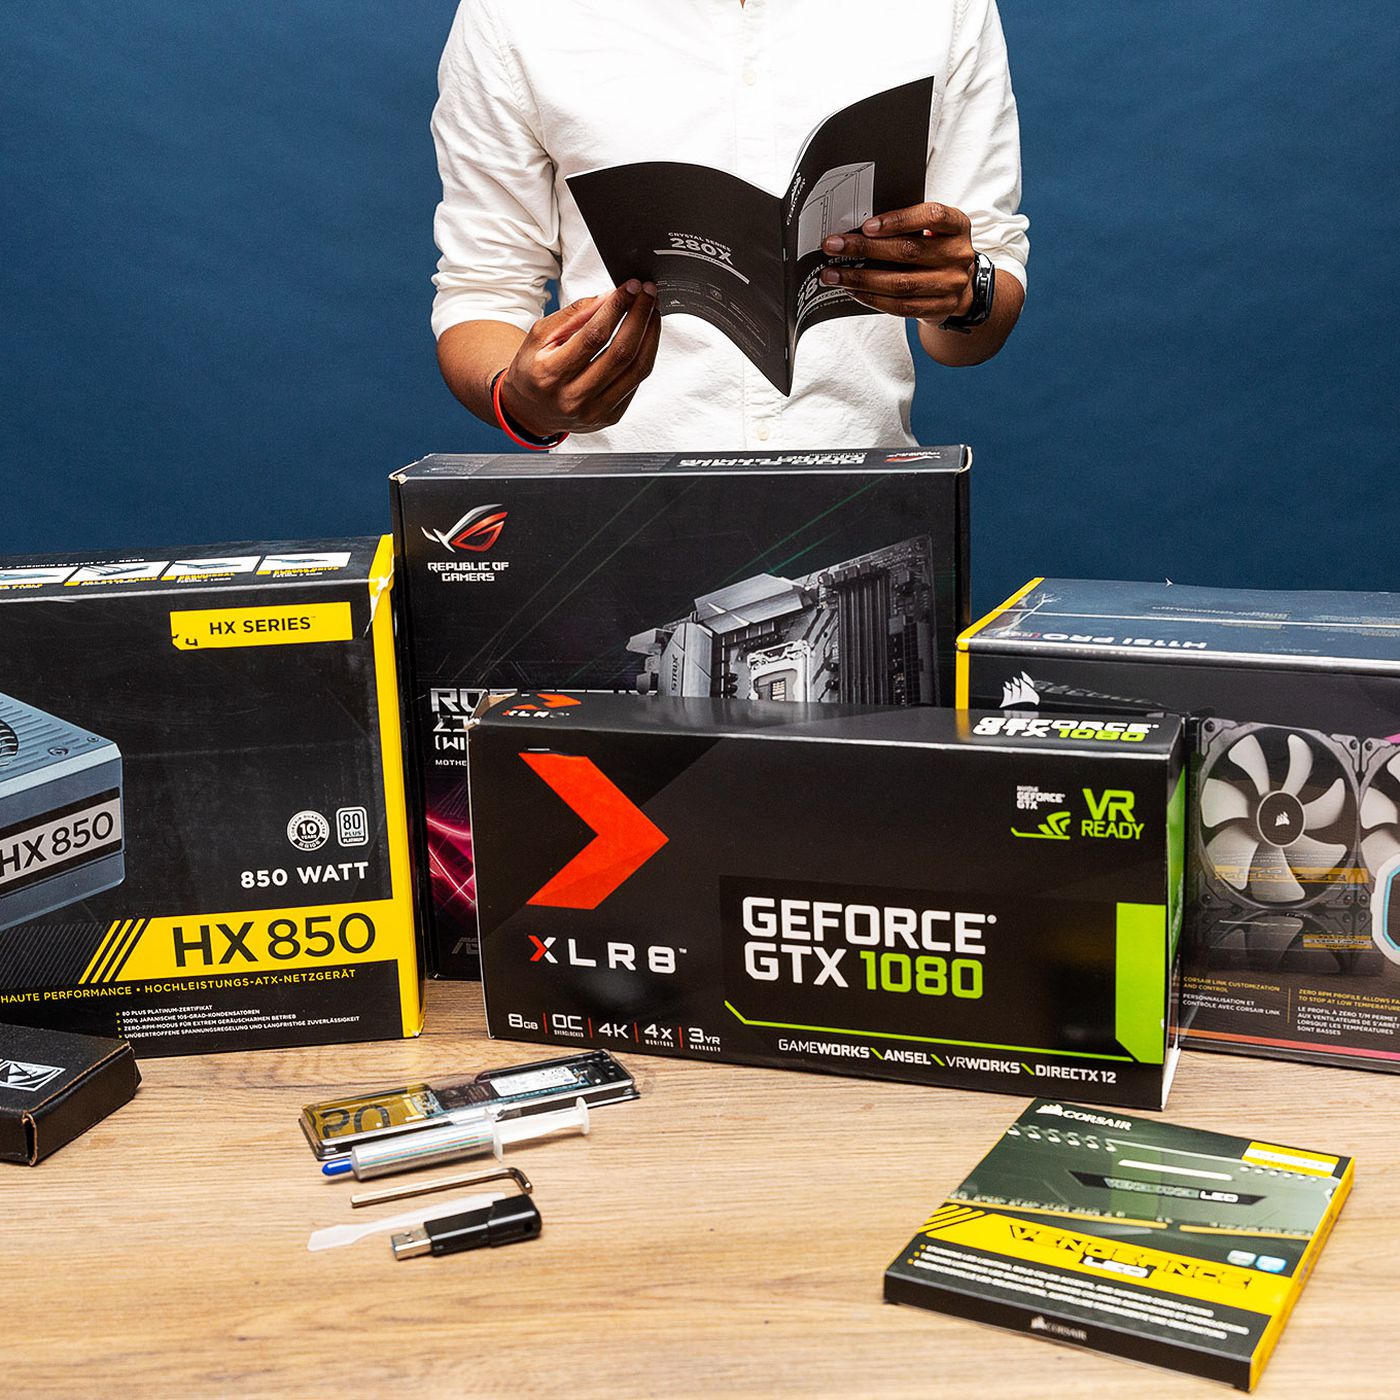
2. Select the Components:
a. Processor (CPU): Choose a powerful CPU from reputable brands like Intel or AMD, considering factors such as clock speed, cores, and compatibility with the motherboard.
b. Graphics Card (GPU): Select a high-performance GPU from manufacturers like NVIDIA or AMD, ensuring it can handle the graphics demands of your favorite games.
c. Motherboard: Choose a motherboard that is compatible with your chosen CPU and has sufficient expansion slots, USB ports, and other features you may require.
d. Memory (RAM): Opt for at least 8GB or preferably 16GB of RAM to ensure smooth gaming performance.
e. Storage: Decide between solid-state drives (SSDs) for faster loading times or hard disk drives (HDDs) for larger storage capacity, or consider a combination of both.
f. Power Supply Unit (PSU): Select a PSU with sufficient wattage to power your components and ensure reliable and efficient operation.
g. Case: Choose a case that accommodates your components, has adequate airflow, and suits your aesthetic preferences.
h. Cooling: Consider the cooling options, such as air cooling with CPU coolers and case fans or liquid cooling solutions, to prevent overheating.
3. Assemble Your Gaming PC:
a. Prepare your workspace: Ensure you have a clean, well-lit area with all necessary tools and components within reach.
b. Install the CPU and CPU cooler: Carefully insert the CPU into the motherboard socket, apply thermal paste, and attach the CPU cooler according to the manufacturer’s instructions.
c. Install RAM: Insert the RAM sticks into the appropriate slots on the motherboard, aligning the notches correctly.
d. Mount the motherboard: Place the motherboard into the case, aligning the screw holes, and secure it with screws.
e. Install the graphics card: Insert the graphics card into the appropriate PCI-Express slot on the motherboard and secure it with screws if necessary.
f. Connect storage devices: Connect the SSD or HDD to the motherboard using SATA cables and ensure they are properly secured in drive bays.
g. Connect the PSU: Connect the necessary cables from the PSU to the motherboard, CPU, graphics card, and storage devices.
h. Connect case fans: Install case fans for proper airflow and connect them to the appropriate fan headers on the motherboard.
i. Cable management: Organize and route cables neatly to improve airflow and aesthetics inside the case.
j. Power on and test: Double-check all connections, power on the PC, and ensure all components are functioning properly.
4. Install Operating System and Drivers:
a. Install the operating system (e.g., Windows) using a USB or DVD drive, following the on-screen instructions.
b. Install the necessary drivers for your components, such as the GPU, motherboard, and peripherals, from their respective manufacturer’s websites.
5. Customize and Personalize:
a. Install your favorite gaming software, customize settings, and optimize performance for your gaming preferences.
b. Enhance your setup with gaming peripherals like a gaming mouse, keyboard, and headset.
Conclusion:
Building your own custom gaming PC allows you to create a powerful gaming
machine tailored to your specific needs and preferences. By following this step-by-step guide, you can select the right components, assemble your PC with care, and set up the operating system and drivers for a seamless gaming experience. Enjoy the satisfaction of gaming on a system you built yourself, and don’t forget to continuously update and upgrade your PC to keep up with the latest gaming technologies and advancements.