
The Raspberry Pi is a versatile and affordable single-board computer that can be used for various projects. One popular application is turning it into a media center, transforming your TV into a smart hub for streaming movies, TV shows, music, and more. In this guide, we will walk you through the steps to build a Raspberry Pi media center and enjoy a seamless entertainment experience.
1. Gather the Necessary Equipment:
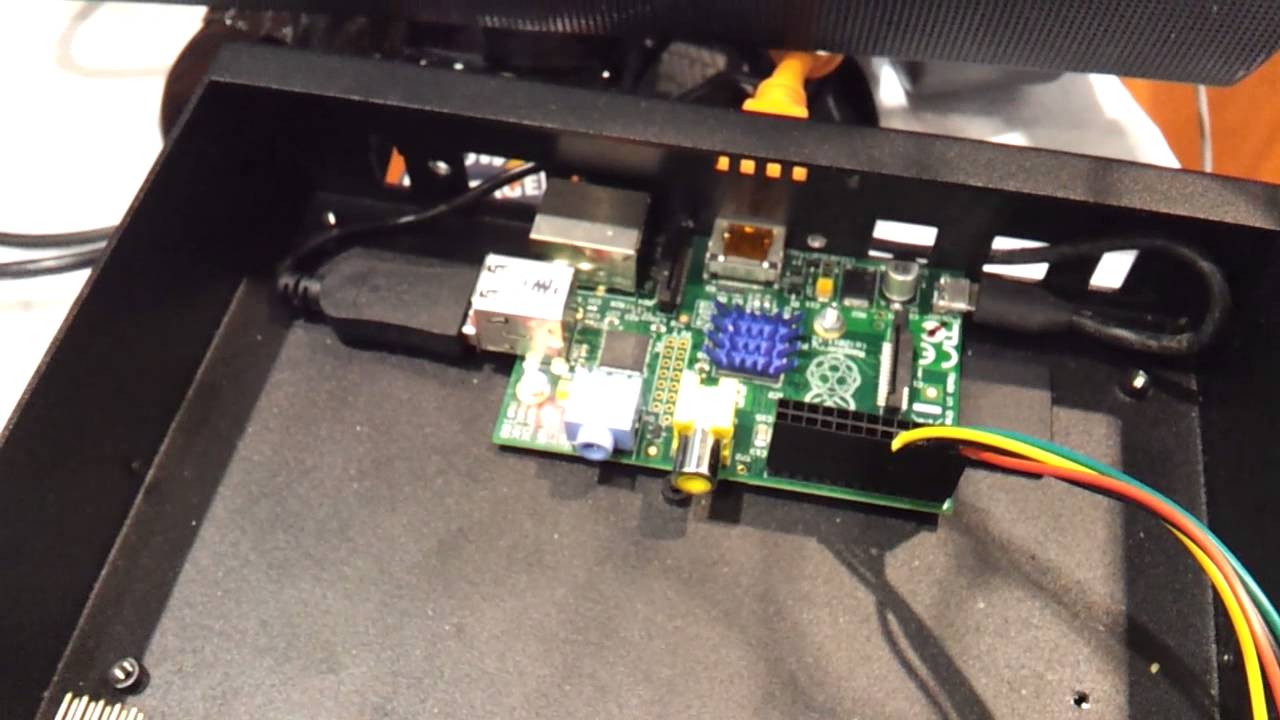
a. Raspberry Pi: Choose a Raspberry Pi model that suits your needs, such as Raspberry Pi 4 or Raspberry Pi 3.
b. MicroSD Card: Select a high-capacity microSD card (16GB or more) to store the operating system and media files.
c. Power Supply: Use a compatible power supply to provide power to the Raspberry Pi.
d. HDMI Cable: Connect the Raspberry Pi to your TV using an HDMI cable.
e. USB Keyboard and Mouse: You will need a USB keyboard and mouse for initial setup and configuration.
f. Ethernet Cable or Wi-Fi Adapter: Connect the Raspberry Pi to the internet via an Ethernet cable or a compatible Wi-Fi adapter.
2. Install the Operating System:
a. Download the latest version of a media center operating system like LibreELEC or OSMC.
b. Use a computer to format the microSD card and install the media center operating system onto it using an imaging tool like Etcher.
3. Set Up the Raspberry Pi:
a. Insert the microSD card into the Raspberry Pi.
b. Connect the HDMI cable from the Raspberry Pi to your TV.
c. Plug in the USB keyboard and mouse.
d. Connect the Ethernet cable or configure the Wi-Fi connection.
e. Power on the Raspberry Pi.
4. Configure the Media Center:
a. Follow the on-screen prompts to complete the initial setup and configuration of the media center operating system.
b. Connect to your home network and ensure internet connectivity.
c. Customize the settings according to your preferences, such as language, time zone, and display resolution.
d. Set up your media sources by adding network-attached storage (NAS), external hard drives, or streaming services.
5. Install Add-Ons and Customization:
a. Explore the add-on repositories available within the media center operating system to enhance functionality.
b. Install additional add-ons for streaming services, music playback, weather information, and more.
c. Customize the appearance and settings of the media center, such as screen savers, themes, and parental controls.
6. Organize and Stream Media:
a. Transfer your media files to the Raspberry Pi by connecting external storage devices or accessing network-attached storage.
b. Organize your media library within the media center by creating appropriate folders or using media management tools.
c. Enjoy streaming your favorite movies, TV shows, music, and other media content directly from the Raspberry Pi media center to your TV.
7. Regular Updates and Maintenance:
a. Keep your media center operating system up to date by installing the latest updates and patches.
b. Periodically review and optimize the storage to ensure smooth performance.
c. Explore forums, online communities, and official documentation for troubleshooting tips, advanced configurations, and community add-ons.
Conclusion:
Building a Raspberry Pi media center is a fun and cost-effective way to turn your TV into a smart hub for entertainment. With the right equipment, installation of the media center operating system, and customization of add-ons and settings, you can enjoy seamless streaming of your favorite media content directly on your TV. Explore the capabilities of your Raspberry Pi media center, organize your media library, and stay up to date with regular updates to ensure a smooth and enjoyable entertainment experience.