
Creating your own DIY weather station is a fun and educational project that allows you to monitor and forecast weather conditions right from your home. In this guide, we will explore the steps involved in building a DIY weather station to track temperature, humidity, air pressure, wind speed, and precipitation.
1. Selecting Weather Station Components:
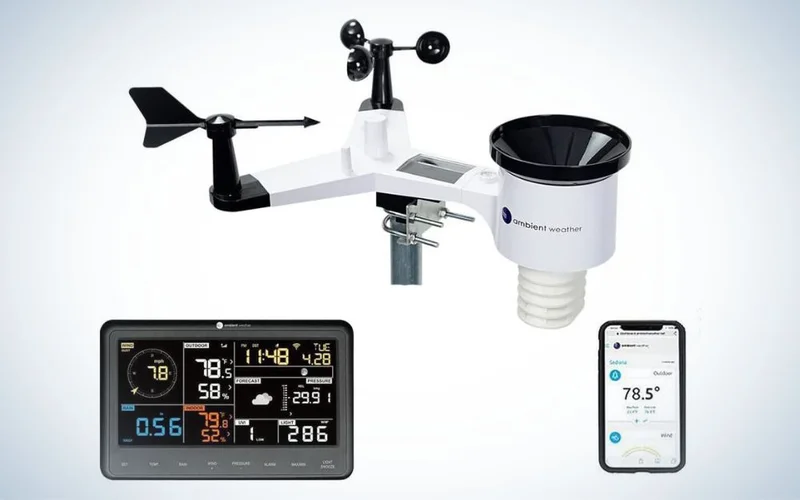
a. Weather Sensors: Choose sensors for temperature, humidity, air pressure, wind speed, and precipitation that are compatible with your DIY weather station project. These sensors typically come in the form of modules or sensors that can be connected to a microcontroller or single-board computer.
b. Microcontroller or Single-Board Computer: Select a microcontroller (such as Arduino) or a single-board computer (such as Raspberry Pi) to gather data from the sensors and process the information.
2. Assembling the Weather Station:
a. Sensor Placement: Position the sensors in appropriate locations to ensure accurate readings. For example, place the temperature and humidity sensor in a shaded area away from direct sunlight and heat sources. Position the wind speed and direction sensor in an open area with minimal obstructions.
b. Mounting: Build a sturdy and weatherproof housing for the sensors and microcontroller. Ensure the housing protects the components from rain, dust, and other environmental factors while allowing for adequate ventilation.
3. Wiring and Power:
a. Wiring Connections: Connect the sensors to the microcontroller or single-board computer as per the manufacturer’s instructions. Use jumper wires or appropriate connectors to establish reliable connections.
b. Power Supply: Provide a power source to the weather station. This can be a combination of batteries, solar panels, or an external power supply depending on your preference and the availability of power sources in your setup.
4. Data Collection and Analysis:
a. Programming: Write code or use existing weather station software to collect data from the sensors and store it in a database or transmit it to a computer or cloud service for analysis.
b. Data Visualization: Use software or online platforms to visualize and interpret the collected weather data. Graphs, charts, and real-time displays can help you understand and analyze weather patterns and trends.
5. Weather Forecasting:
a. Data Interpretation: Analyze the collected data to identify patterns and correlations between different weather variables. Look for trends that can help you make informed predictions and forecasts.
b. Weather Data Sources: Access online weather data sources and meteorological models to supplement your DIY weather station’s readings. Compare your data with professional forecasts to improve accuracy and gain a broader understanding of weather conditions.
6. Calibration and Maintenance:
a. Calibration: Periodically calibrate the weather sensors to ensure accurate measurements. Follow the manufacturer’s guidelines or use reference equipment to calibrate the sensors if needed.
b. Maintenance: Regularly inspect the weather station components for any damage or wear. Clean the sensors and check the wiring connections for any signs of corrosion or loose connections. Make necessary repairs or replacements as required.
Conclusion:
Building a DIY weather station provides a hands-on opportunity to learn about meteorology and gain a deeper understanding of weather patterns. By following the steps outlined in this guide, you can create your own weather station to monitor and forecast temperature, humidity, air pressure, wind speed, and precipitation right from the comfort of your home. Enjoy the process of assembling, collecting data, and analyzing weather patterns as you embark on this exciting DIY project.