
Creating a DIY home theater allows you to enjoy immersive audio and stunning visuals right in the comfort of your own home. In this guide, we will provide you with tips and recommendations for setting up the audio and visual components of your DIY home theater, ensuring a captivating and cinematic experience.

1. Room Selection and Layout:
a. Choose an Ideal Room: Select a room in your house that can accommodate the size of your home theater setup. Consider factors such as room dimensions, acoustics, and the availability of space for seating and equipment.
b. Optimal Seating Placement: Arrange the seating in an optimal position for viewing and audio experience. Aim for a central seating area that allows for a comfortable viewing angle and is within the surround sound sweet spot.
2. Visual Setup:
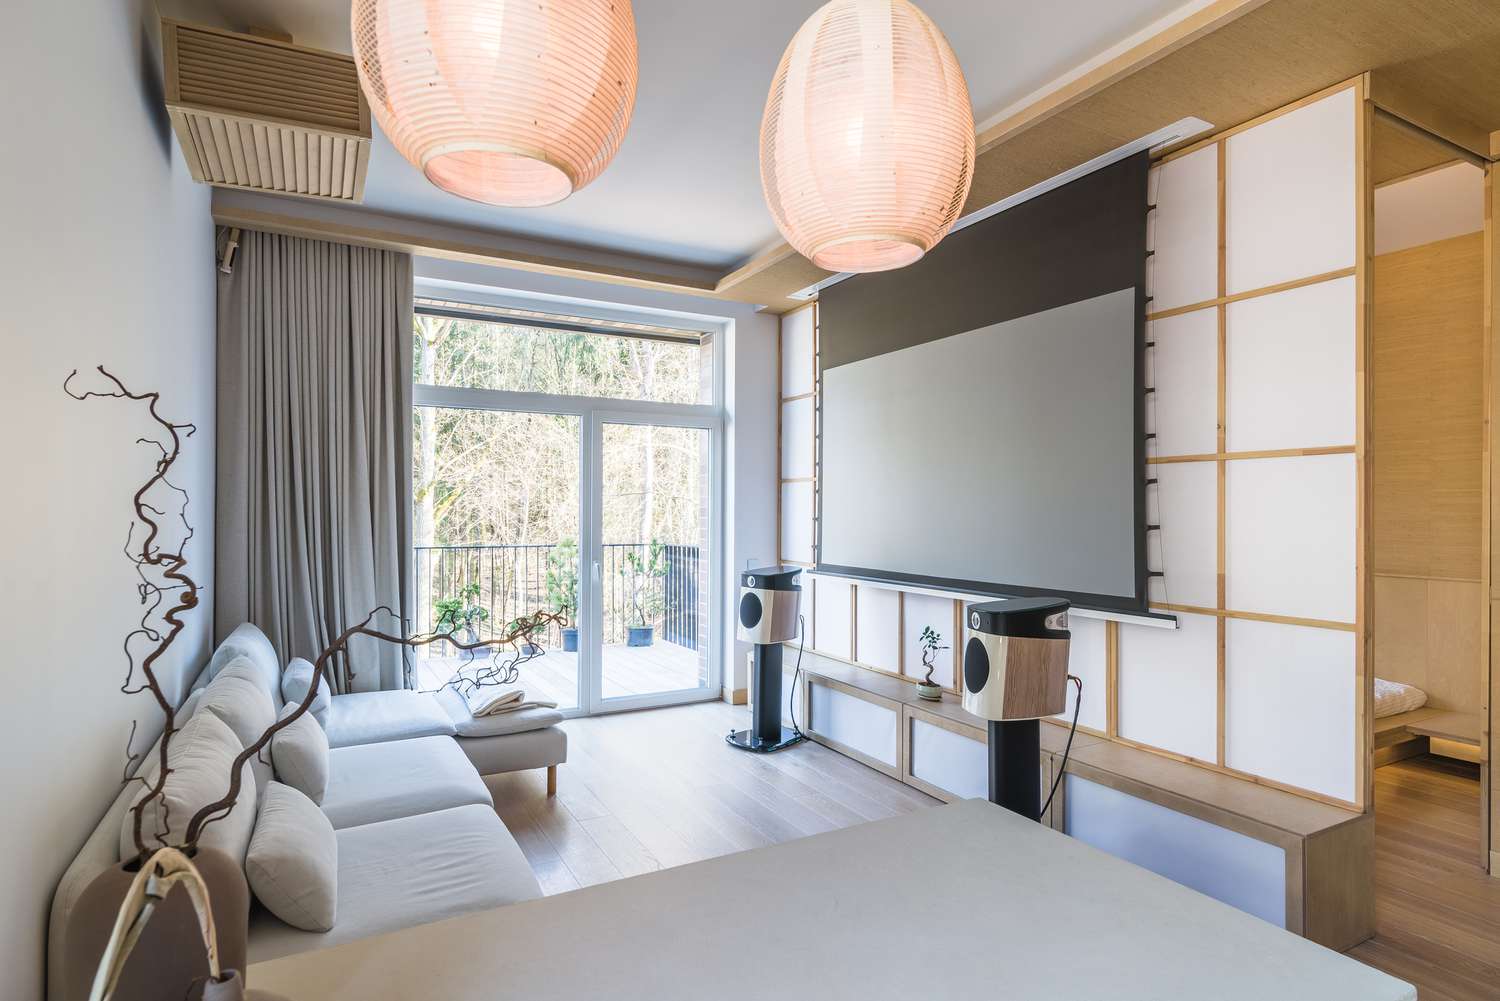
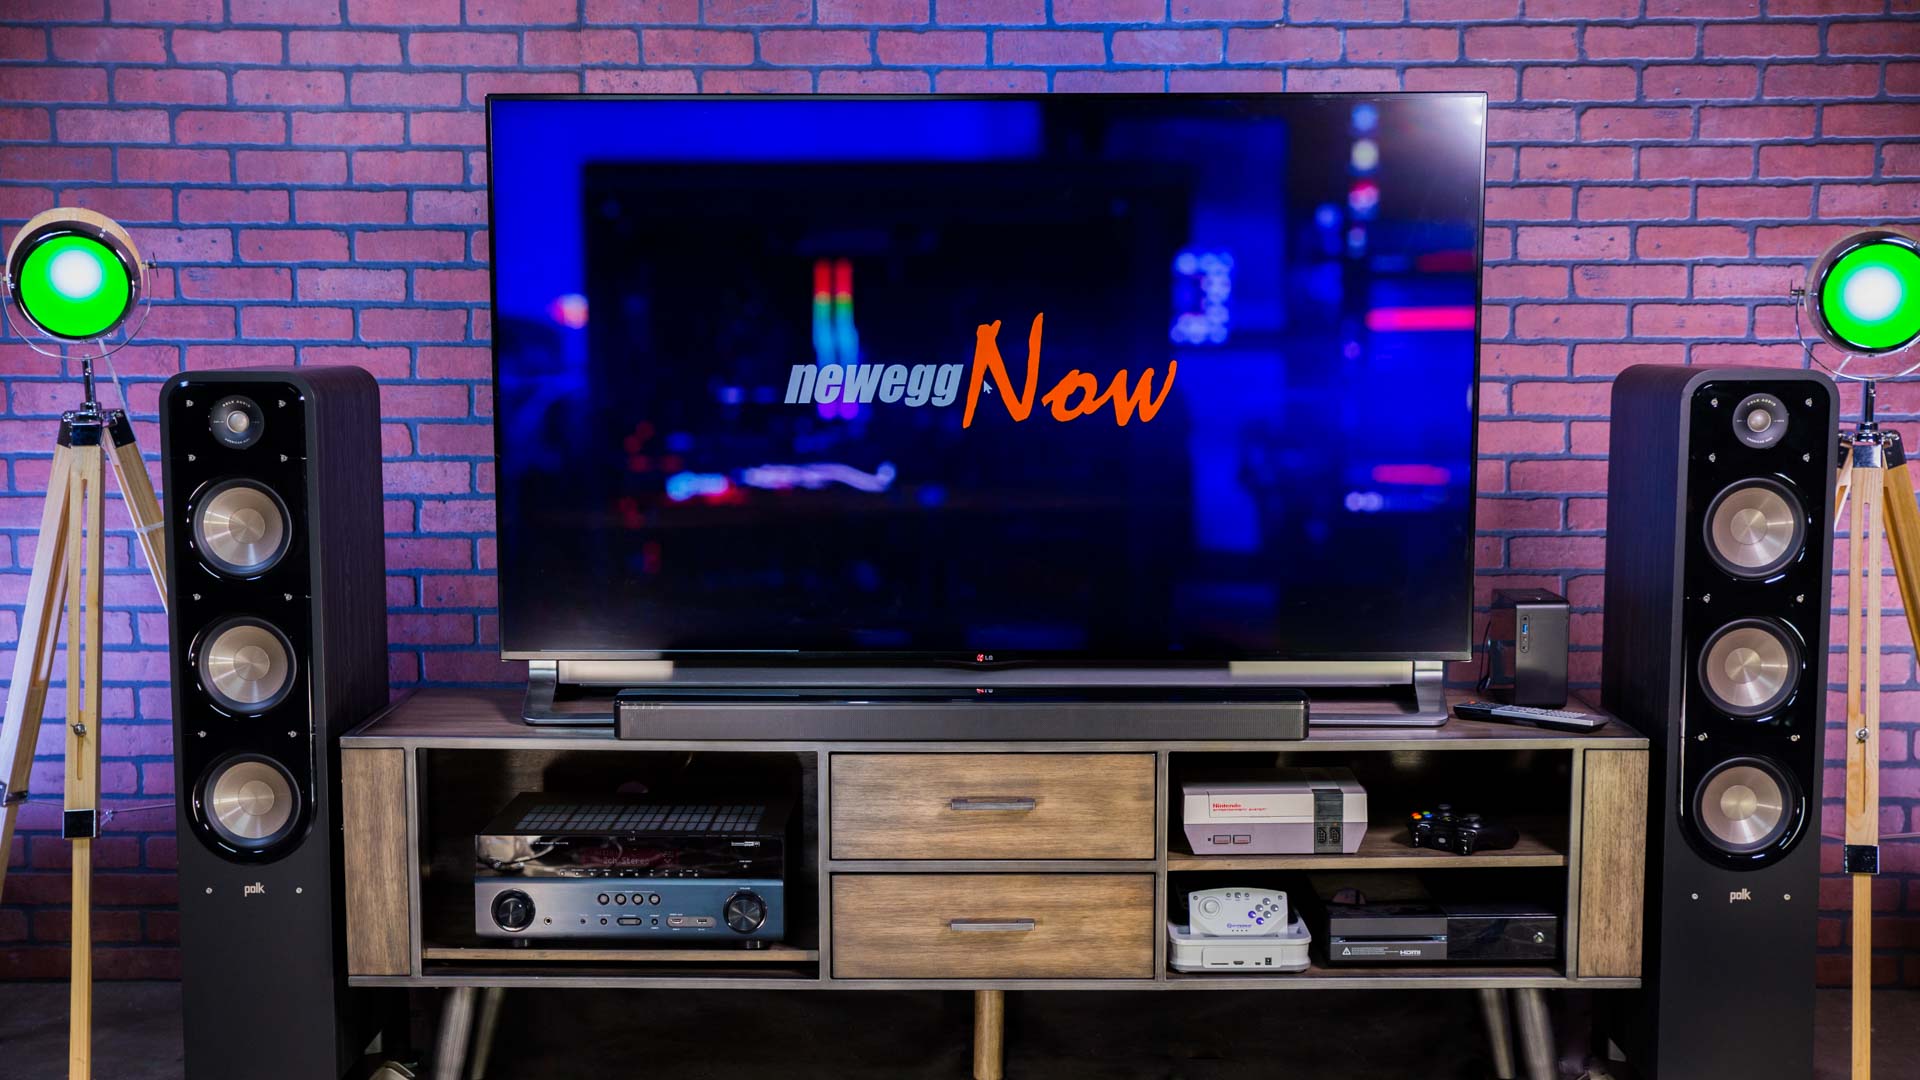
a. Projector or TV Selection: Decide whether you want to use a projector or a large-screen TV as your display. Consider factors such as screen size, resolution, brightness, and contrast ratio to choose the option that best suits your preferences and budget.
b. Screen Placement: Position the screen at the appropriate height and distance from the seating area. Ensure that the screen is easily visible from all seating positions without any obstructions.
3. Audio Setup:
a. Speaker Placement: Set up a surround sound system with speakers strategically positioned around the room. Place the front speakers at ear level and position the surround speakers to create an immersive sound experience. Consider wall-mounting or using speaker stands for optimal placement.
b. Subwoofer Placement: Position the subwoofer in a central location to distribute low-frequency sounds evenly throughout the room. Experiment with subwoofer placement to achieve the best bass response without overpowering the other audio elements.
c. Speaker Calibration: Use a sound calibration tool or audio setup wizard to optimize speaker settings, including channel balance, distance, and volume levels. This ensures a well-balanced audio experience across all speakers.
4. Acoustic Treatments:
a. Room Acoustics: Enhance the sound quality by implementing acoustic treatments such as diffusers, absorbers, and bass traps. These treatments help minimize sound reflections and optimize the overall audio experience.
b. Speaker Isolation: Use isolation pads or stands to prevent vibrations and resonance between speakers and surfaces. This helps improve sound clarity and reduces unwanted vibrations.
5. Wiring and Connectivity:
a. Cable Management: Plan and organize your cables to minimize clutter and ensure a clean and organized setup. Use cable management solutions such as cable channels, clips, or zip ties to keep cables neatly tucked away.
b. Signal Connectivity: Connect your audio and video sources, such as Blu-ray players, gaming consoles, or media streaming devices, to your display and audio receiver using high-quality HDMI or optical cables. Ensure proper cable length and compatibility with your devices.
6. Calibration and Testing:
a. Audio Calibration: Use a sound calibration tool or receiver setup menu to fine-tune the audio settings based on your room’s acoustics and personal preferences. Adjust parameters such as speaker distances, levels, and equalization to optimize audio performance.
b. Video Calibration: Calibrate your display’s settings for optimal picture quality. Use calibration tools or software to adjust parameters like brightness, contrast, color, and sharpness to achieve accurate and vibrant visuals.
Conclusion:
Building a DIY home theater provides an opportunity to create a personalized cinematic experience in the comfort of your own home. By following the tips outlined in this guide, you can set up your audio and visual components for an immersive and captivating home theater experience. Remember to experiment, fine-tune, and optimize the settings to achieve the best audio and visual performance based on your room’s characteristics and personal preferences. Sit back, relax, and enjoy your DIY home theater!