
Setting up a home network allows you to connect multiple devices, share resources, and enjoy seamless internet connectivity throughout your home. This step-by-step guide will walk you through the process of setting up a home network.
Step 1: Determine Your Network Requirements
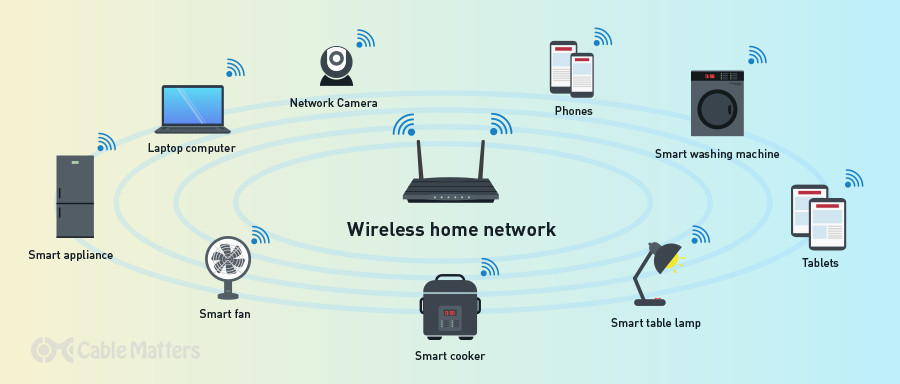
– Assess the number of devices you plan to connect to the network, including computers, smartphones, smart TVs, and gaming consoles.
– Decide on the network type: wired (Ethernet) or wireless (Wi-Fi) or a combination of both.
– Consider the coverage area and potential obstacles that may affect wireless signal strength.
Step 2: Choose a Network Router
– Select a router that meets your network requirements, taking into account factors like Wi-Fi standards (e.g., 802.11ac or Wi-Fi 6), number of available Ethernet ports, and maximum data transfer rates.
– Consider additional features like guest network support, parental controls, and Quality of Service (QoS) for bandwidth prioritization.
Step 3: Connect Your Router
– Connect one end of an Ethernet cable to the router’s WAN (Internet) port and the other end to your broadband modem.
– Power on the router and wait for it to establish a connection with the modem.
– Connect your computer to the router using another Ethernet cable or connect wirelessly if your router supports Wi-Fi.
Step 4: Configure Your Router
– Open a web browser and enter the default IP address of the router (e.g., 192.168.1.1) in the address bar.
– Enter the default username and password provided by the router manufacturer (refer to the router’s manual).
– Follow the on-screen instructions to set up a secure administrator password and configure basic network settings like network name (SSID) and Wi-Fi password.
Step 5: Customize Network Settings
– Access the router’s settings interface and explore advanced options like DHCP settings, port forwarding, and firewall settings.
– Set up DHCP (Dynamic Host Configuration Protocol) to automatically assign IP addresses to devices on your network.
– Enable port forwarding if you need to access specific services (e.g., remote desktop) from outside your network.
– Configure security features like WPA2 or WPA3 encryption for your Wi-Fi network and consider enabling MAC address filtering for additional security.
Step 6: Connect Devices to Your Network
– Connect devices to your network using either Ethernet cables or Wi-Fi.
– For wired connections, connect an Ethernet cable from the device’s Ethernet port to an available LAN port on the router.
– For wireless connections, search for available Wi-Fi networks on your devices, select your network, and enter the Wi-Fi password when prompted.
Step 7: Test and Troubleshoot
– Test your network connectivity by accessing the internet on your devices and ensuring file sharing between devices.
– If you encounter issues, check device settings, ensure proper network configurations, and consider power cycling your modem and router.
Step 8: Expand Your Network (Optional)
– If you need to extend Wi-Fi coverage to areas with weak signals, consider adding wireless range extenders or mesh Wi-Fi systems.
– Connect additional devices like network printers, network-attached storage (NAS), or smart home devices as needed.
Conclusion:
Setting up a home network allows you to enjoy seamless connectivity and resource sharing among your devices. By following these steps and considering your network requirements, choosing the right router, connecting and configuring your router, customizing network settings, connecting devices, and testing your network, you can establish a functional and secure home network. Remember to periodically update your router’s firmware and review security settings to ensure optimal performance and protection. Enjoy the benefits of a reliable and connected home network!