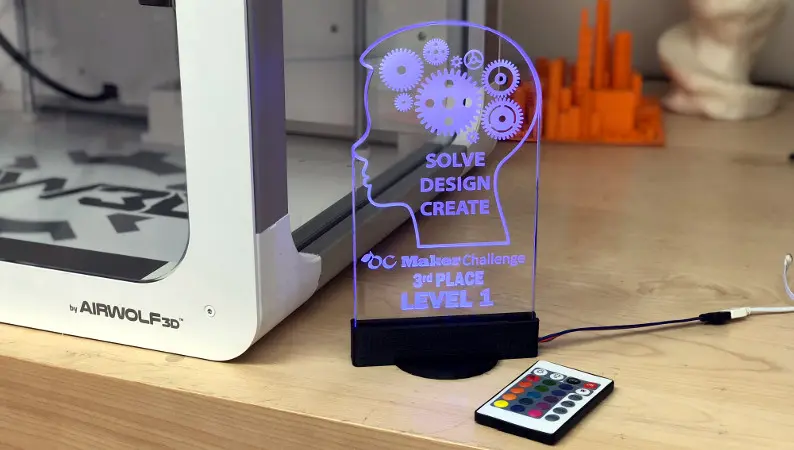
3D printing has revolutionized the world of design and manufacturing, allowing individuals to bring their creative ideas to life. Whether you’re a beginner or an experienced designer, this guide will provide you with tips and software recommendations to help you create custom 3D-printed designs.

1. Conceptualize Your Design:
a. Start by sketching or visualizing your design idea. Consider the purpose, functionality, and desired aesthetics of your 3D-printed object.
b. Break down your design into individual components or parts if necessary, as this can simplify the modeling process.
2. Choose the Right 3D Modeling Software:
a. Tinkercad: Ideal for beginners, Tinkercad offers a user-friendly interface and basic modeling tools to create simple designs.
b. Fusion 360: Suitable for more complex designs, Fusion 360 provides advanced modeling capabilities, including parametric design, assembly modeling, and simulation.
c. Blender: A powerful open-source software, Blender offers a wide range of features for 3D modeling, sculpting, animation, and rendering.
3. Learn the Basics of 3D Modeling:
a. Familiarize yourself with the software’s interface and tools. Many software programs provide tutorials and documentation to help you get started.
b. Start with simple objects and gradually progress to more complex designs as you gain proficiency.
c. Practice creating basic shapes, extruding and manipulating geometry, and using Boolean operations to combine or subtract shapes.
4. Design for 3D Printing:
a. Understand the limitations and capabilities of your 3D printer. Consider factors such as minimum wall thickness, overhangs, support structures, and print orientation.
b. Ensure that your design is watertight and free of errors or non-manifold geometry that may cause printing issues.
c. Use fillets or chamfers to smooth sharp edges and improve printability.
d. Optimize your design for material usage and print time by hollowing out unnecessary parts or adjusting infill density.
5. Test and Iterate:
a. Before committing to a full-scale print, consider doing a small-scale test print to validate the design and identify any necessary adjustments.
b. Evaluate the functionality, fit, and aesthetics of the test print and make necessary modifications in the digital model.
c. Repeat the test print and iteration process until you are satisfied with the final design.
6. Join Online Communities and Resources:
a. Engage with 3D printing communities, forums, and social media groups to learn from experienced designers and seek advice on specific design challenges.
b. Explore online repositories like Thingiverse, MyMiniFactory, or GrabCAD for ready-to-print designs or inspiration for your own creations.
7. Consider Additional Tools and Techniques:
a. Meshmixer: A free software, Meshmixer offers advanced mesh editing and optimization tools, including supports generation and mesh repair.
b. Scanning: Experiment with 3D scanning techniques to capture real-world objects and incorporate them into your designs.

Conclusion:
With the right software, knowledge, and creativity, you can create custom 3D-printed designs that bring your ideas to life. Follow the tips outlined in this guide, practice your 3D modeling skills, and explore the capabilities of different software programs. Join online communities, seek inspiration, and leverage the resources available to you. Embrace the exciting world of 3D printing and unlock endless possibilities for customized and innovative designs.